Selected colour swatches
You can order up to 20 colour swatchesHow to prep a surface
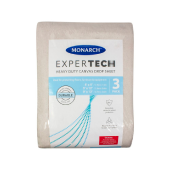
Drop sheet
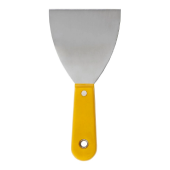
Paint scraper
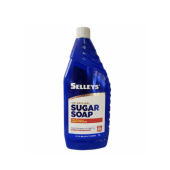
Sugar Soap
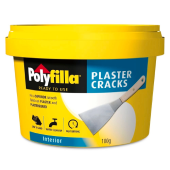
Filler
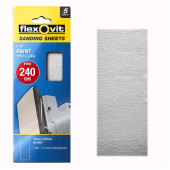
Sandpaper
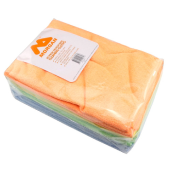
Soft cloth
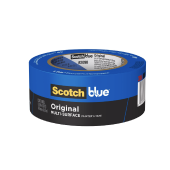
Masking tape
Remember, paint shouldn’t be used to fill holes and cracks! A clean and smooth surface will give any paint project a flawless finish. Our simple step-by-step guide will help you achieve a professional result.
Prep for your prep? You bet. Take down your pictures and move all furniture out of the room. If you don’t have much space, move it to the middle of the room and cover it up with a drop sheet. Lay down another drop sheet to protect your floors. This might seem like a job for old bed sheets, but they will let the paint soak right through, so use a canvas sheet that’s made for the job, or large pieces of plastic.
Remove any loose, flaking or powdery paint from previously painted surfaces with a scraper, then wash all surfaces thoroughly with sugar soap. Follow the instructions on the packaging to get rid of any dust and dirt. Rinse off with a clean, wet cloth.
Fill any gaps between walls and trims with a dedicated flexible gap filler. Use a standard interior flexible filler for surface cracks (including hairline), holes or dings.
Use a medium-grit sandpaper to remove any remaining filler. Sand down the patches to a smooth finish, using a sanding block. Be sure to wipes the walls clean afterwards to ensure perfect paint adhesion.
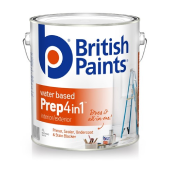
If you’re working on a bare or heavily stained surface, put masking tape on trims and around switches and sockets, and apply British Paints PREP 4in1 Water Based. It combines the functions of sealer, primer, undercoat and stain-blocker in one convenient product, and is great for covering oil-based stains.
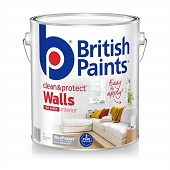
Clean & Protect Walls is the ideal topcoat for interior walls. It creates a beautiful, resilient interior finish that can be wiped clean time after time.
Next Step
Now you’re ready to move on to the fun part — transforming your room with paint. See our tips on painting interior walls HERE.


