Selected colour swatches
You can order up to 20 colour swatches
How to paint and roller a ceiling
The thought of painting a ceiling can be overwhelming, especially for a first-time painter. Fortunately, you've got British Paints on your side with British Paints Ceiling paint.
Our new ceiling paint creates a beautiful smooth white finish to brighten any room in your home. Easy to apply with low roller splatter and an ultra-flat and ultra-white finish, British Paints Ceiling will refresh tired ceilings in your home.
Here we'll show you everything you need to know for your project – from which roller to use, how to save your back and the best techniques for a fantastic finish.
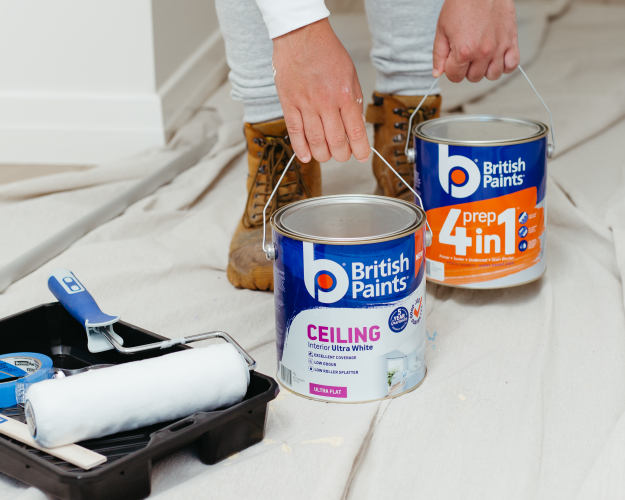
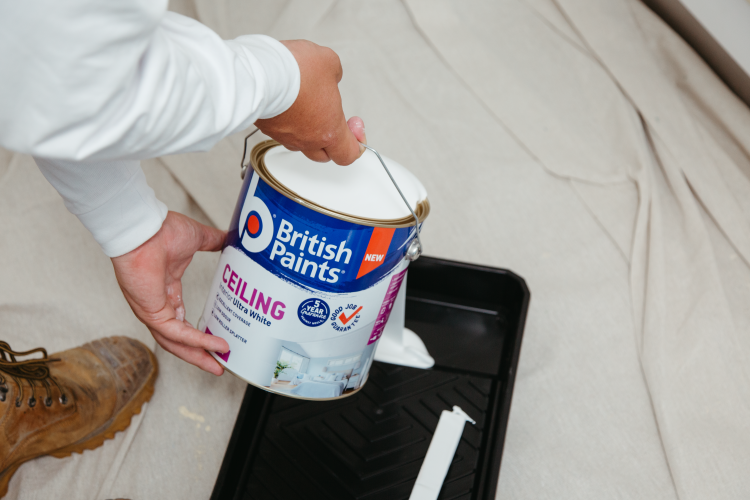
Step 1: Shopping list
You'll find everything you need for your ceiling project at your local Bunnings store.
- British Paints Ceiling Paint
- British Paints PREP 4in1 Water Based
- Painters tape
- Ceiling Roller 12mm nap
- Extendable roller pole
- Roller tray
- Paint brushes
- Paint stirrer
- Safety glasses
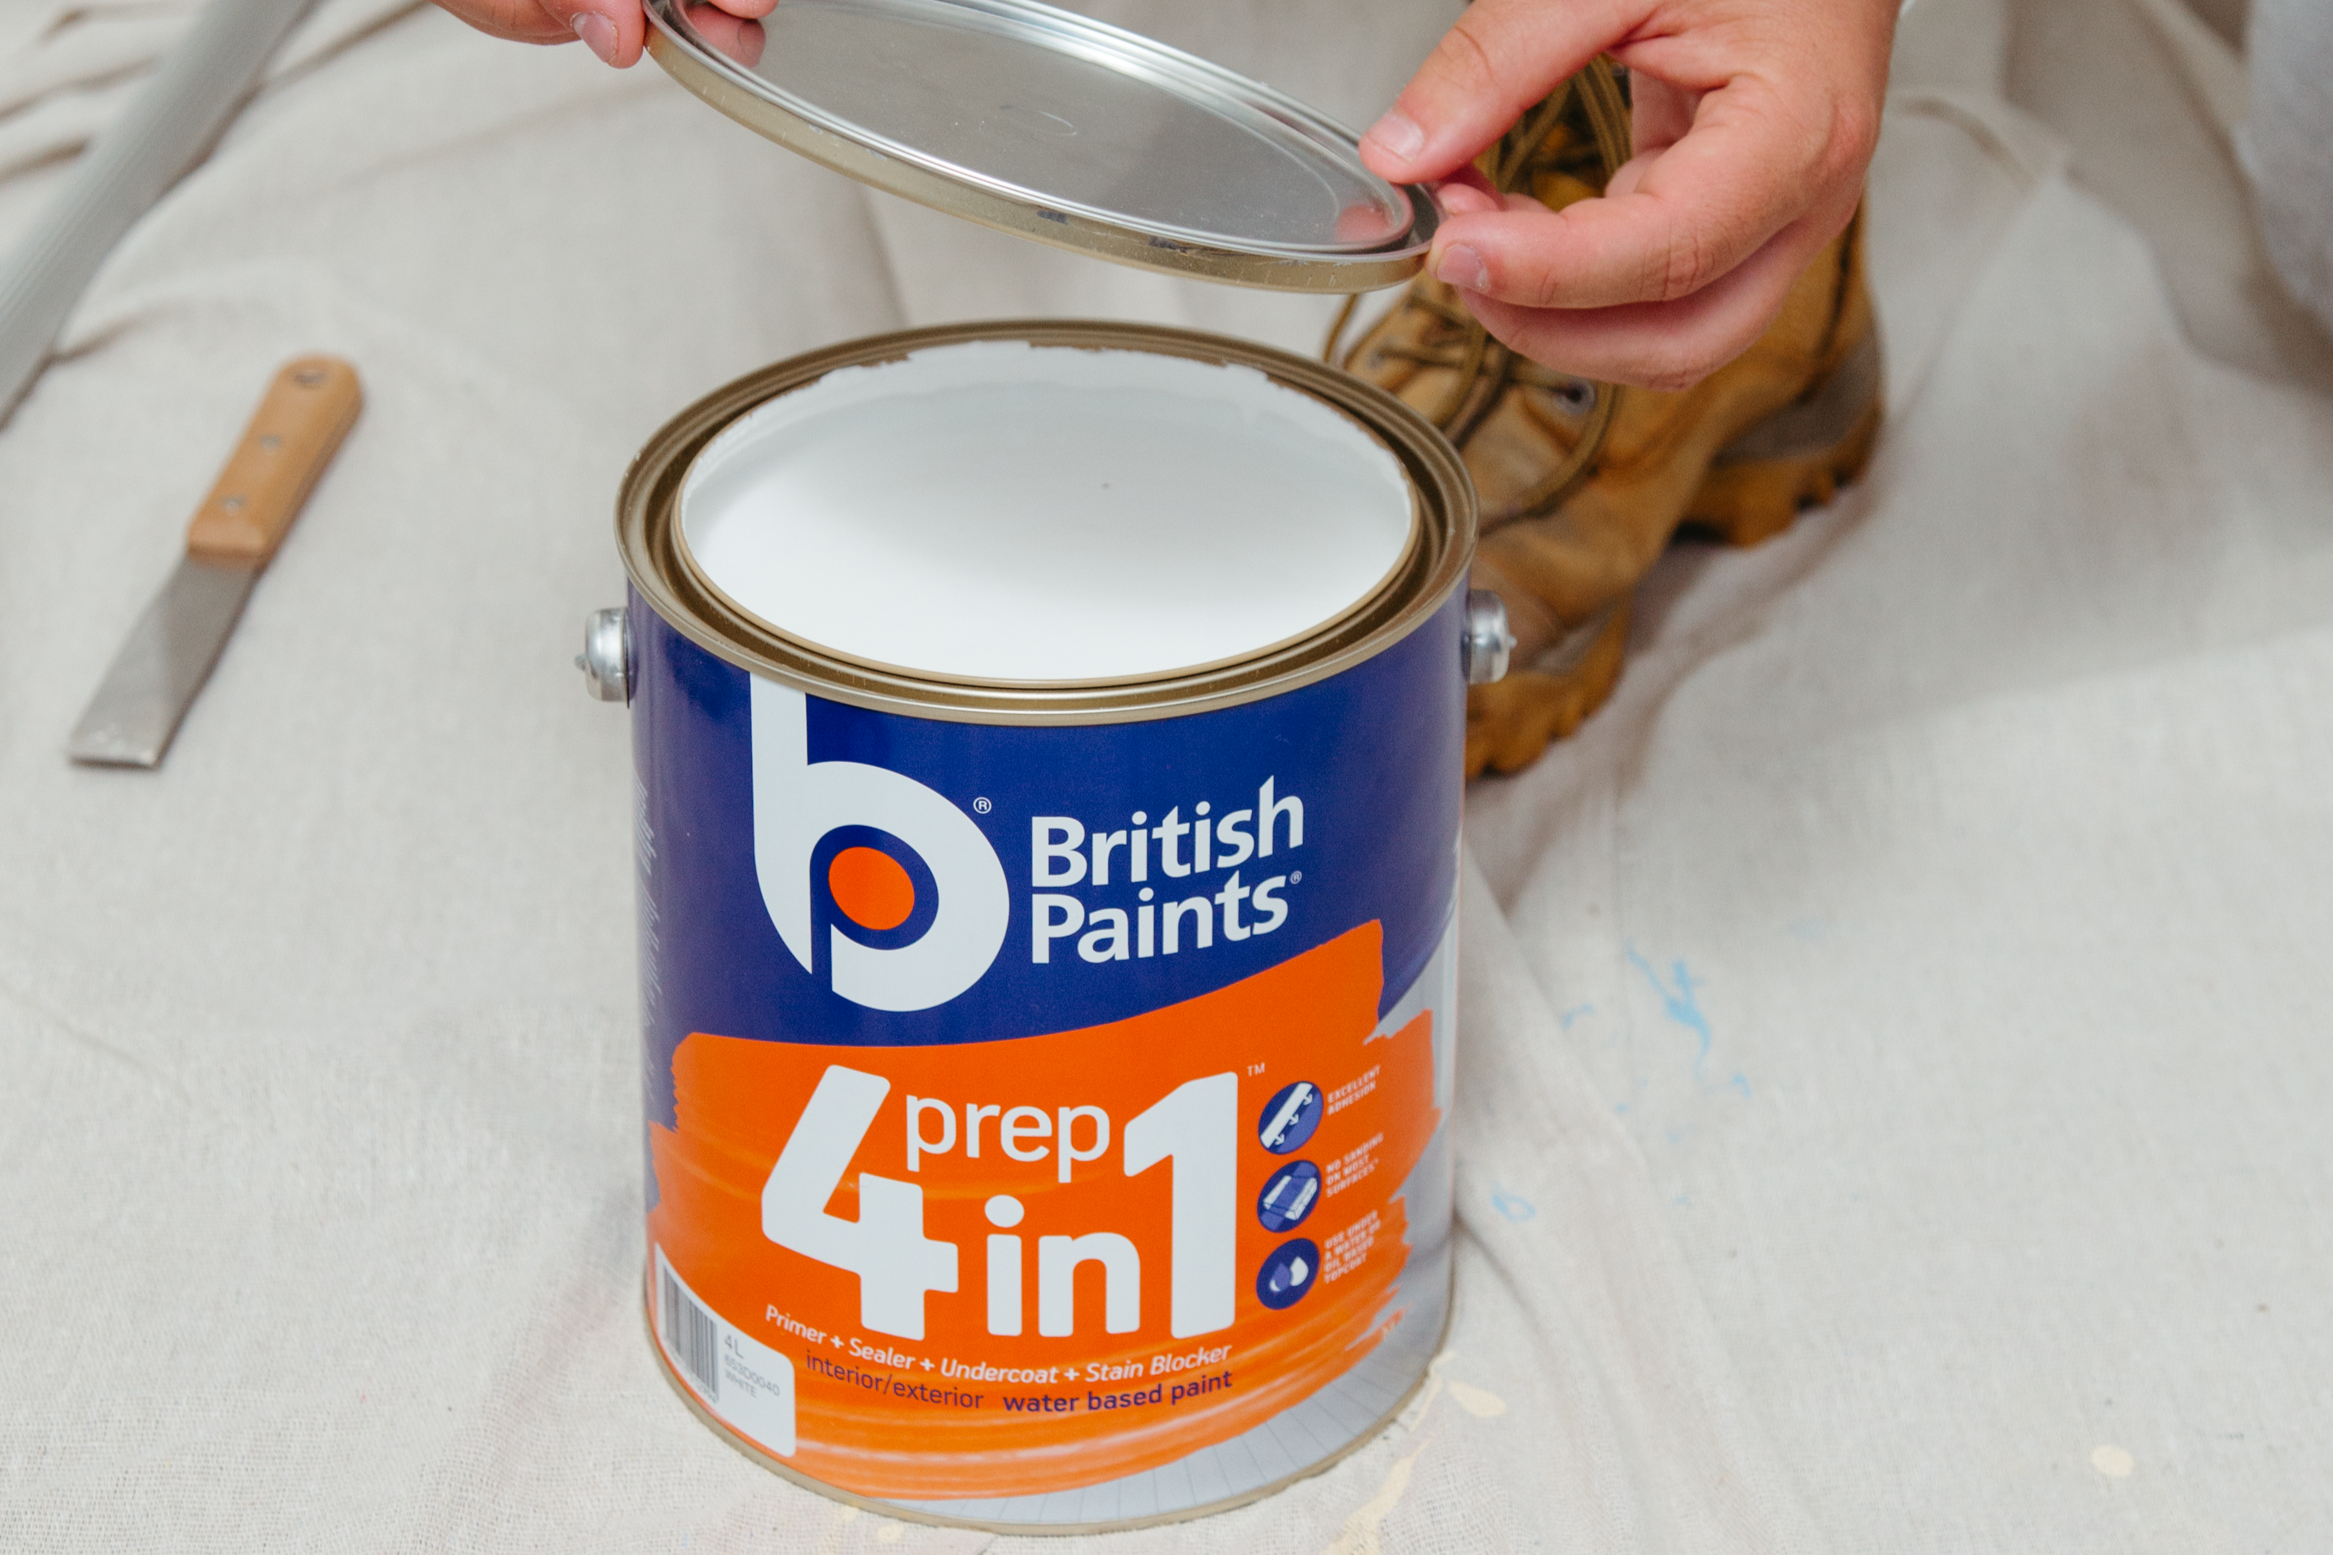
Step 2: Prep for your prep
Before starting to paint, ensure your ceiling is prepared and ready to paint.
To get your job done faster, we recommend British Paints Prep 4in1 Water Based™, a sealer, primer, undercoat and stain-blocker in one handy product.
Take down your pictures and move all furniture out of the room. If you don’t have much space, move it to the middle of the room and cover it up with a drop sheet.
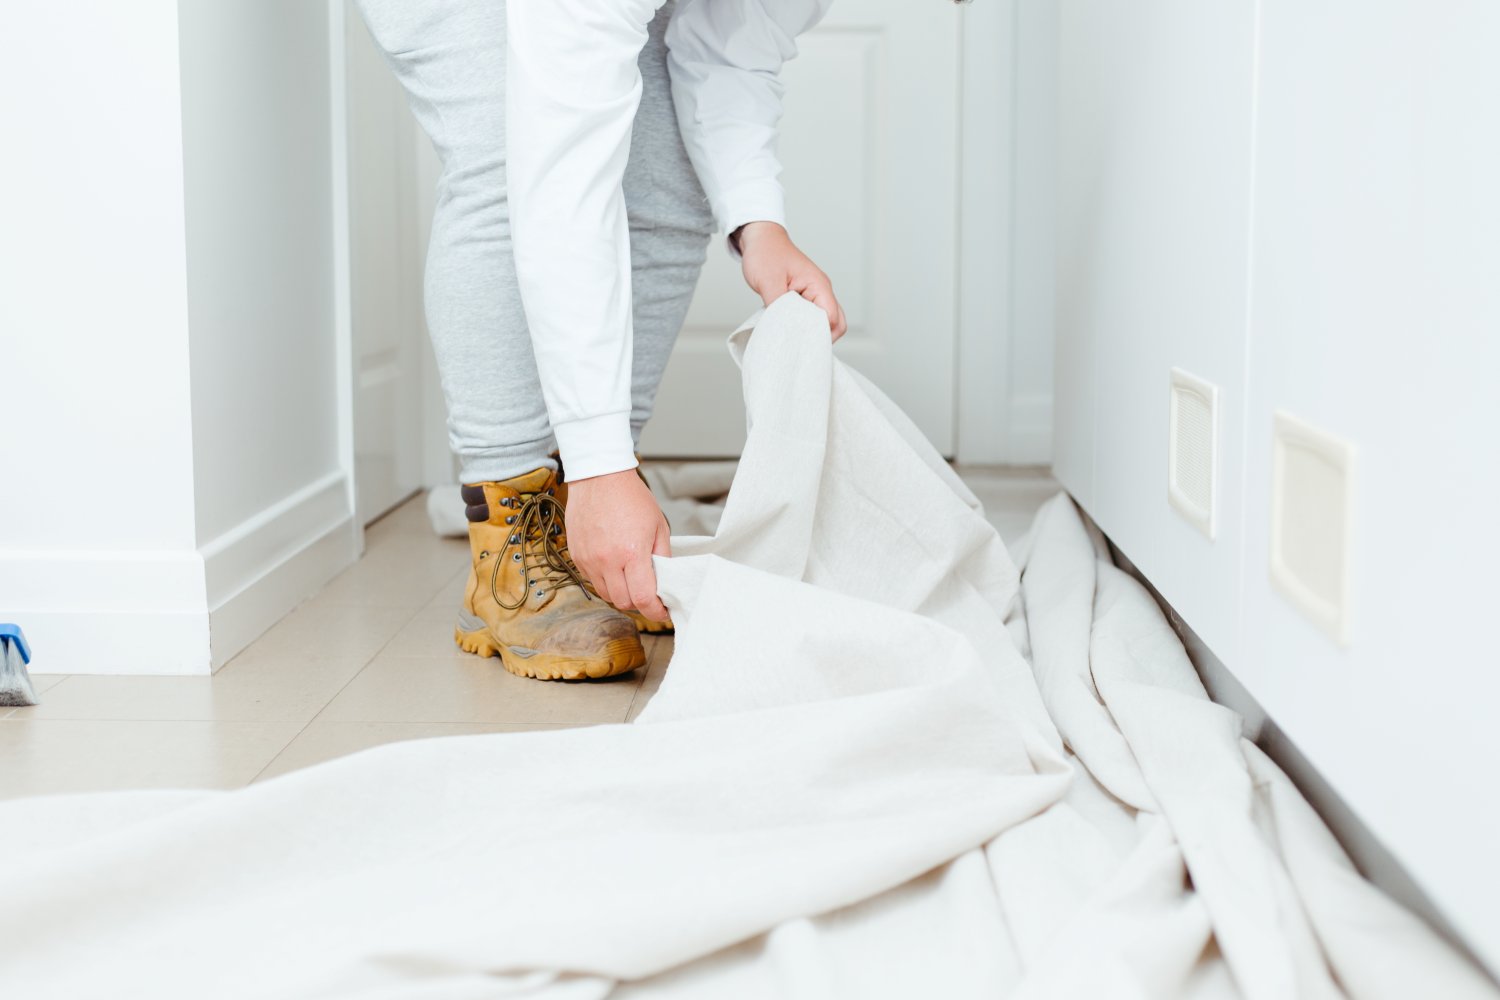
1. Drop sheets
Lay down another drop sheet to protect your floors. This might seem like a job for old bed sheets, but they will let the paint soak right through, so use a canvas sheet that’s made for the job, or large pieces of plastic.
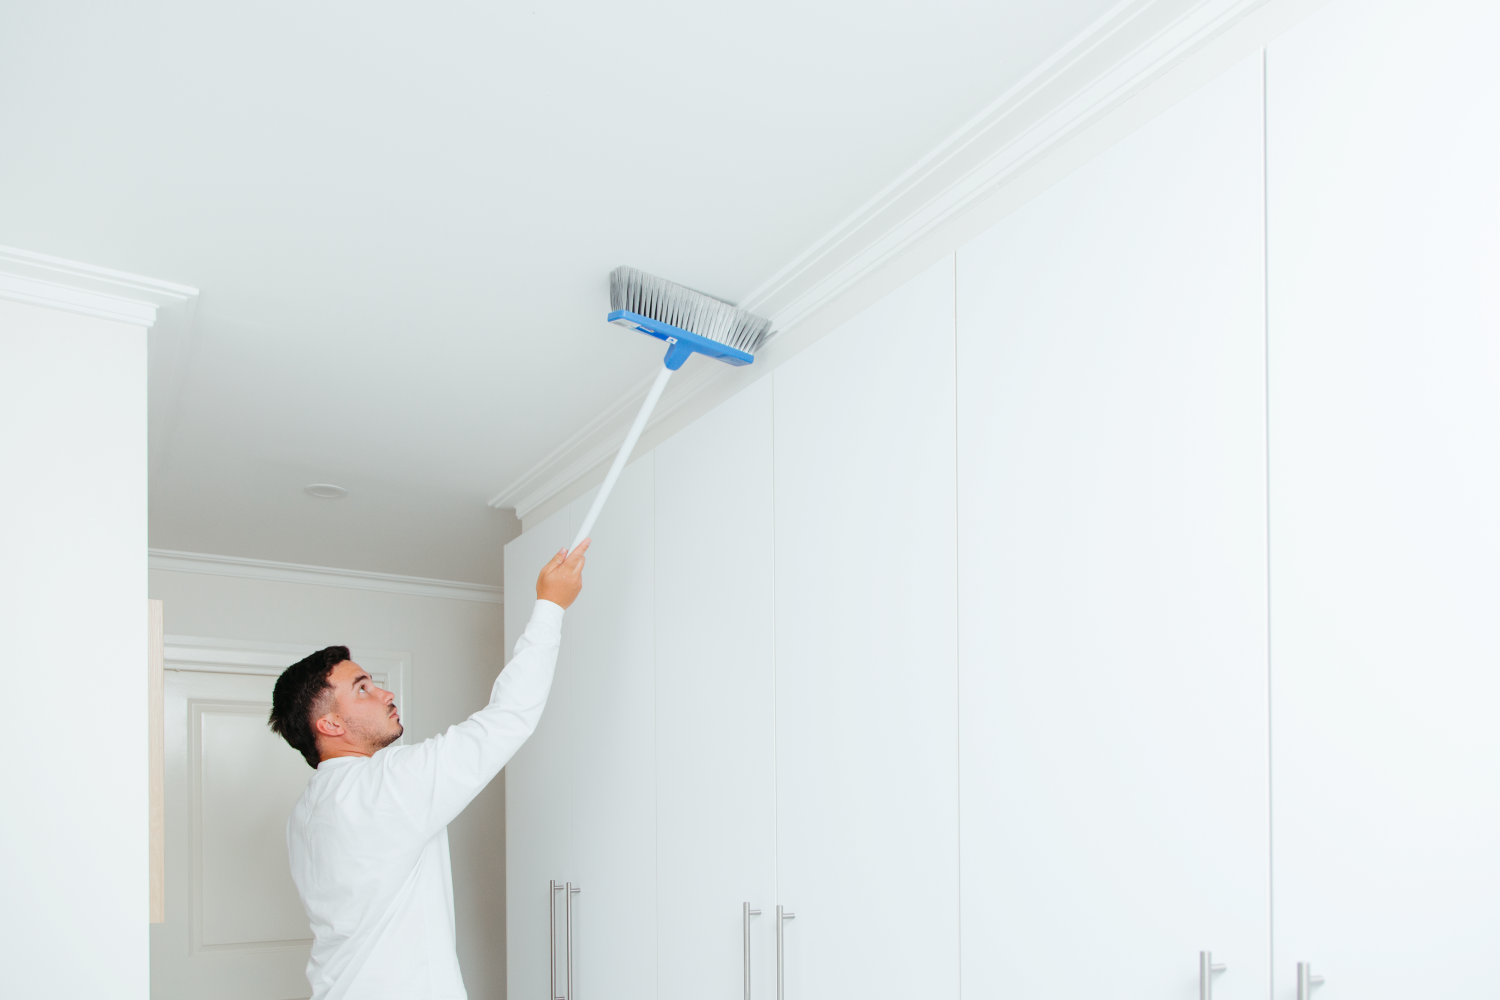
2. Clean ceiling
Cleaning your ceiling before painting is an important step to make sure the surface is clean and you won't paint over and trap any dirt. Use a broom to remove any dust and cobwebs.
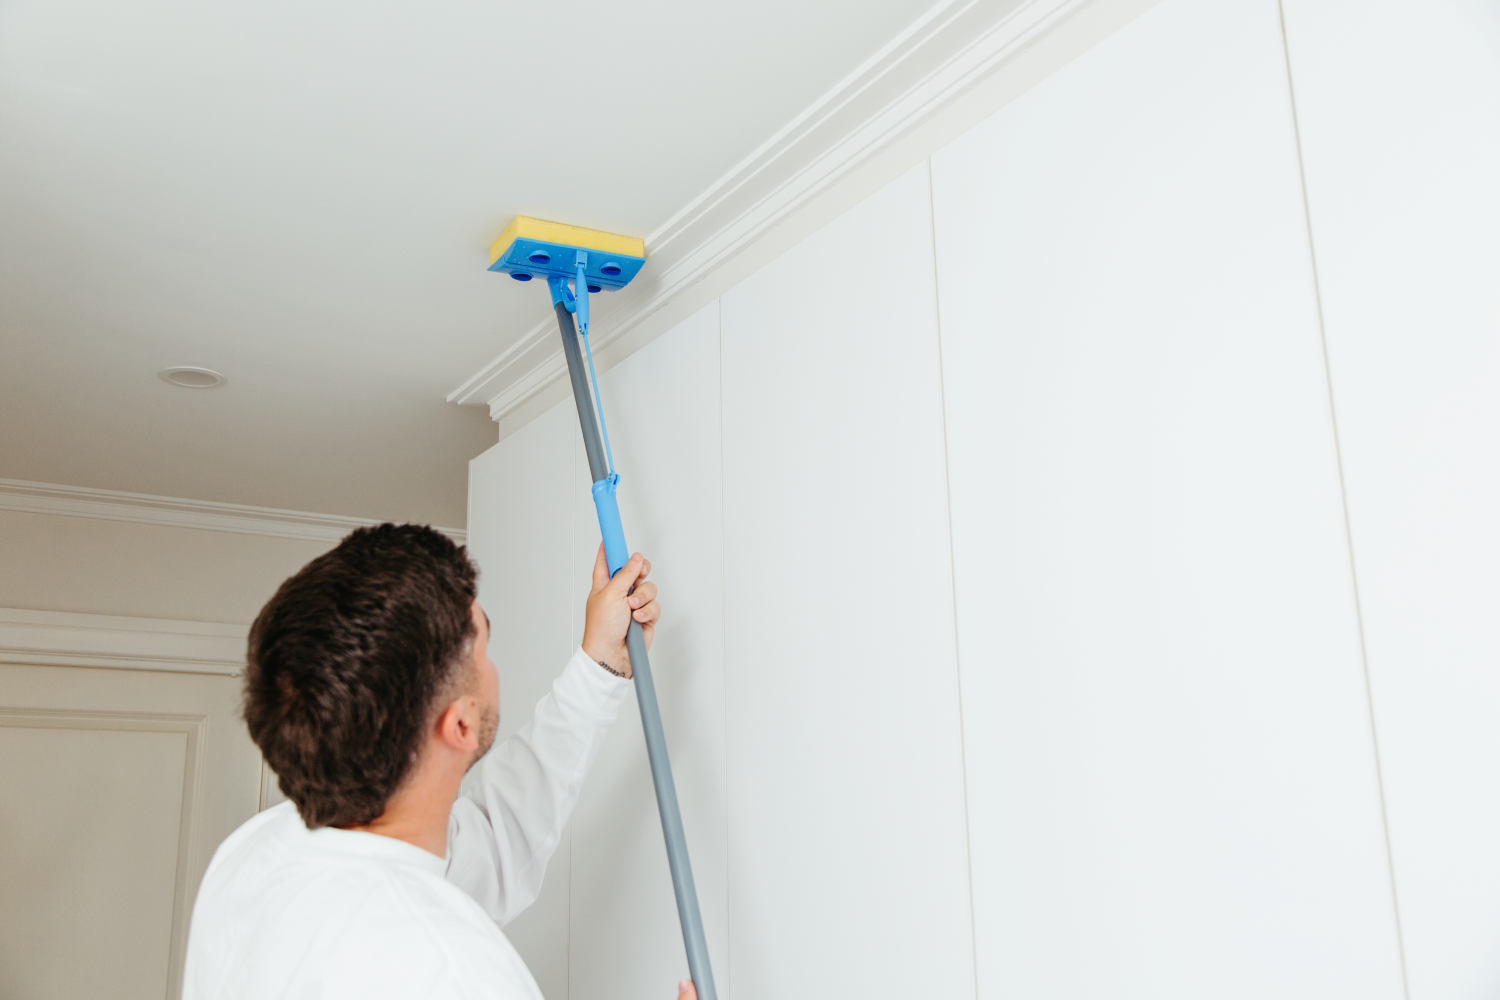
3. Wash ceiling
Wash the ceiling with sugar soap solution with a sponge mop.
Step 3: Prep coat painting
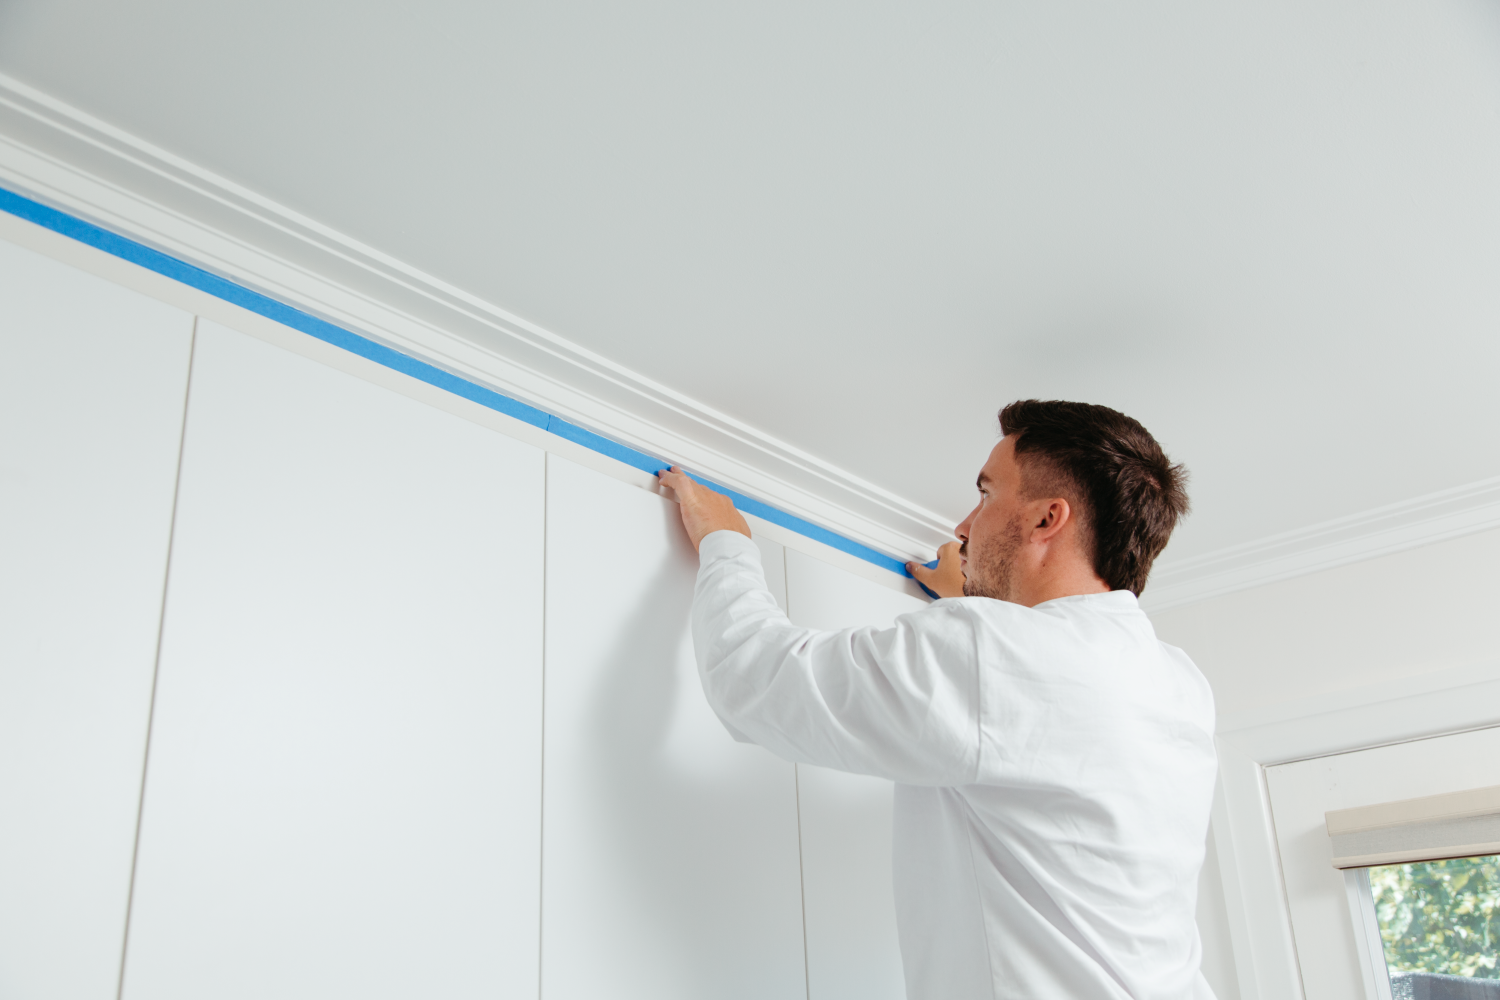
1. Taping
Tape around cornices, edges and any downlights
2. Time for cutting in
Pour a small amount of British Paints Prep 4in1 Water Based™ into your tray and begin cutting in.
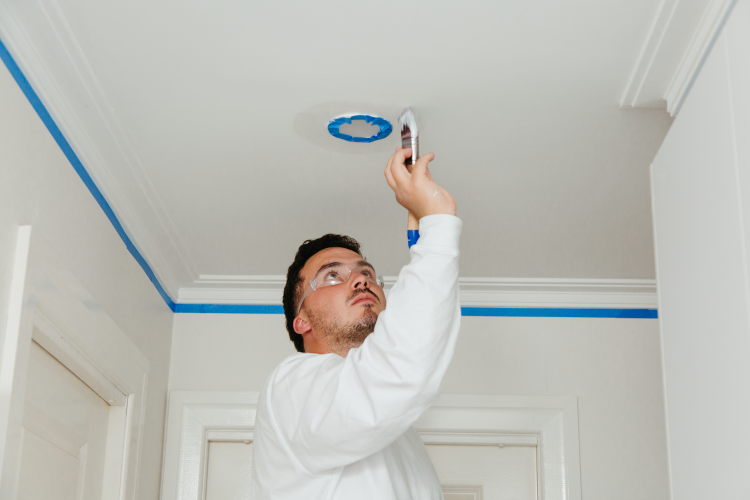
3. Paint every area
Don't forget to go around any downlights, hanging lights or skylights.
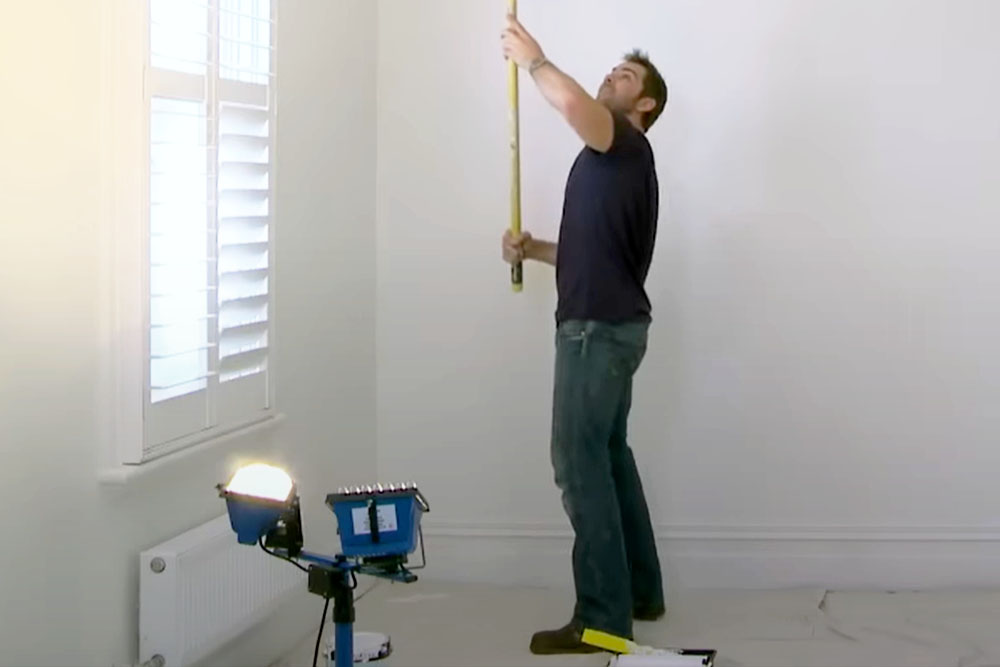
Tip: Good posture
Once your roller and paint are ready to go, it's time to get your posture right. Your feet should be shoulder-length apart and arms below shoulder height. Keep the roller tray in front of you for quick access.
Before loading the roller, try to find a comfortable position to work in. Wear old clothes or something you don't mind getting a few paint stains on.
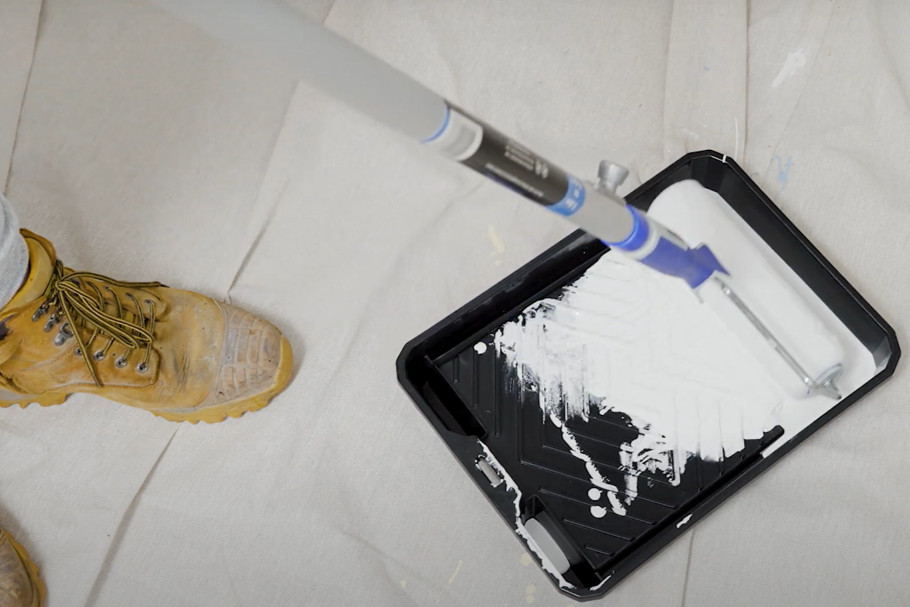
4. Prepare your roller
It's time to prepare the roller and paint.
Some rollers need to be washed and prepared before use. Otherwise, they can shed, leaving fibres on your freshly painted surfaces.
5. Apply prep coat
Load up your roller with paint by making three to four passes in the tray to distribute the paint evenly across the roller.
Too little paint can leave your ceiling looking patchy. Too much paint, and you'll be left with tracks or lines.
Start in the corner, rolling away from you on the first roll. Create a 'W' shape when moving. Work in one-square-metre areas at a time, this makes it easier to maintain a wet edge.
6. Dry time
Once the prep coat work is finished let the surface dry before painting the ceiling.
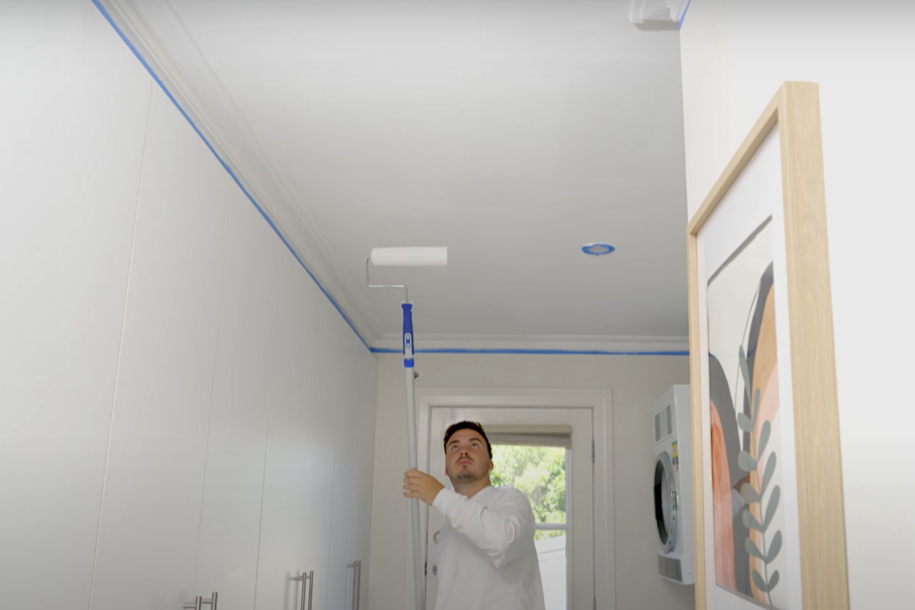
Step 4. Time to paint
1. Get ready
Once the prep coat is dry, pour British Paints Ceiling Paint into your tray.

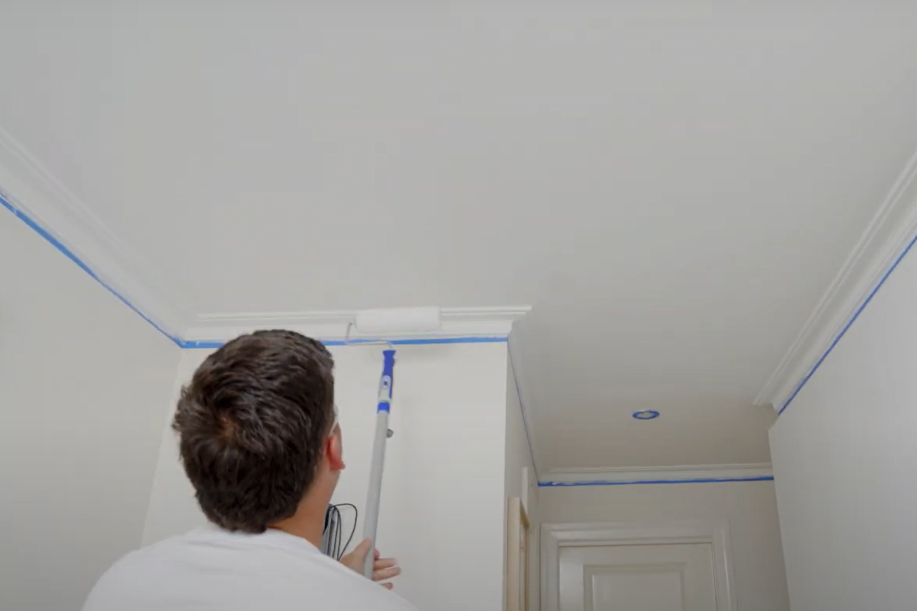
2. Begin cutting in
Paint the tight areas of the room such as edges, corners, around window and door frames.
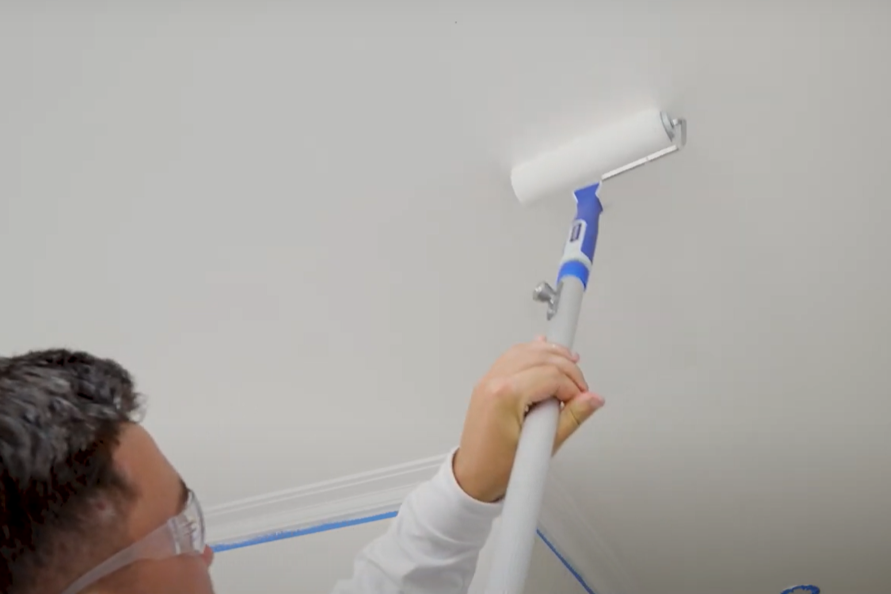
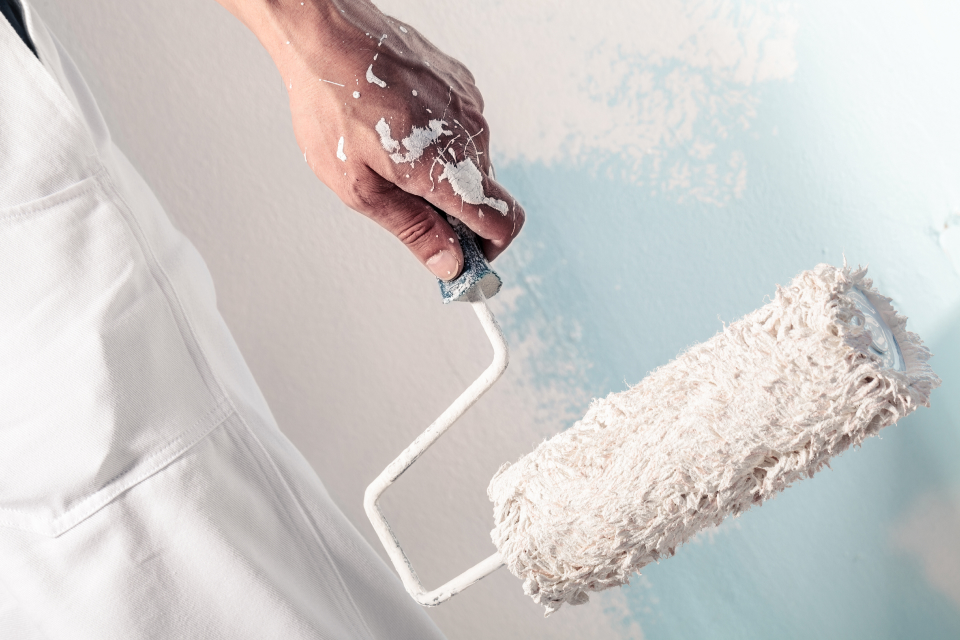
3. Painting with a roller
Paint 'W' several times then lay off the paint to prevent streaky lines in your finish. Repeat until your ceiling is done.
Laying off involves gently pulling the roller with no paint in one stroke towards you. Start the next stroke by slightly overlapping the original roll and following the same direction.
4. Apply a second coat
Do one more coat of British Paints Ceiling Paint from the cutting in stage.
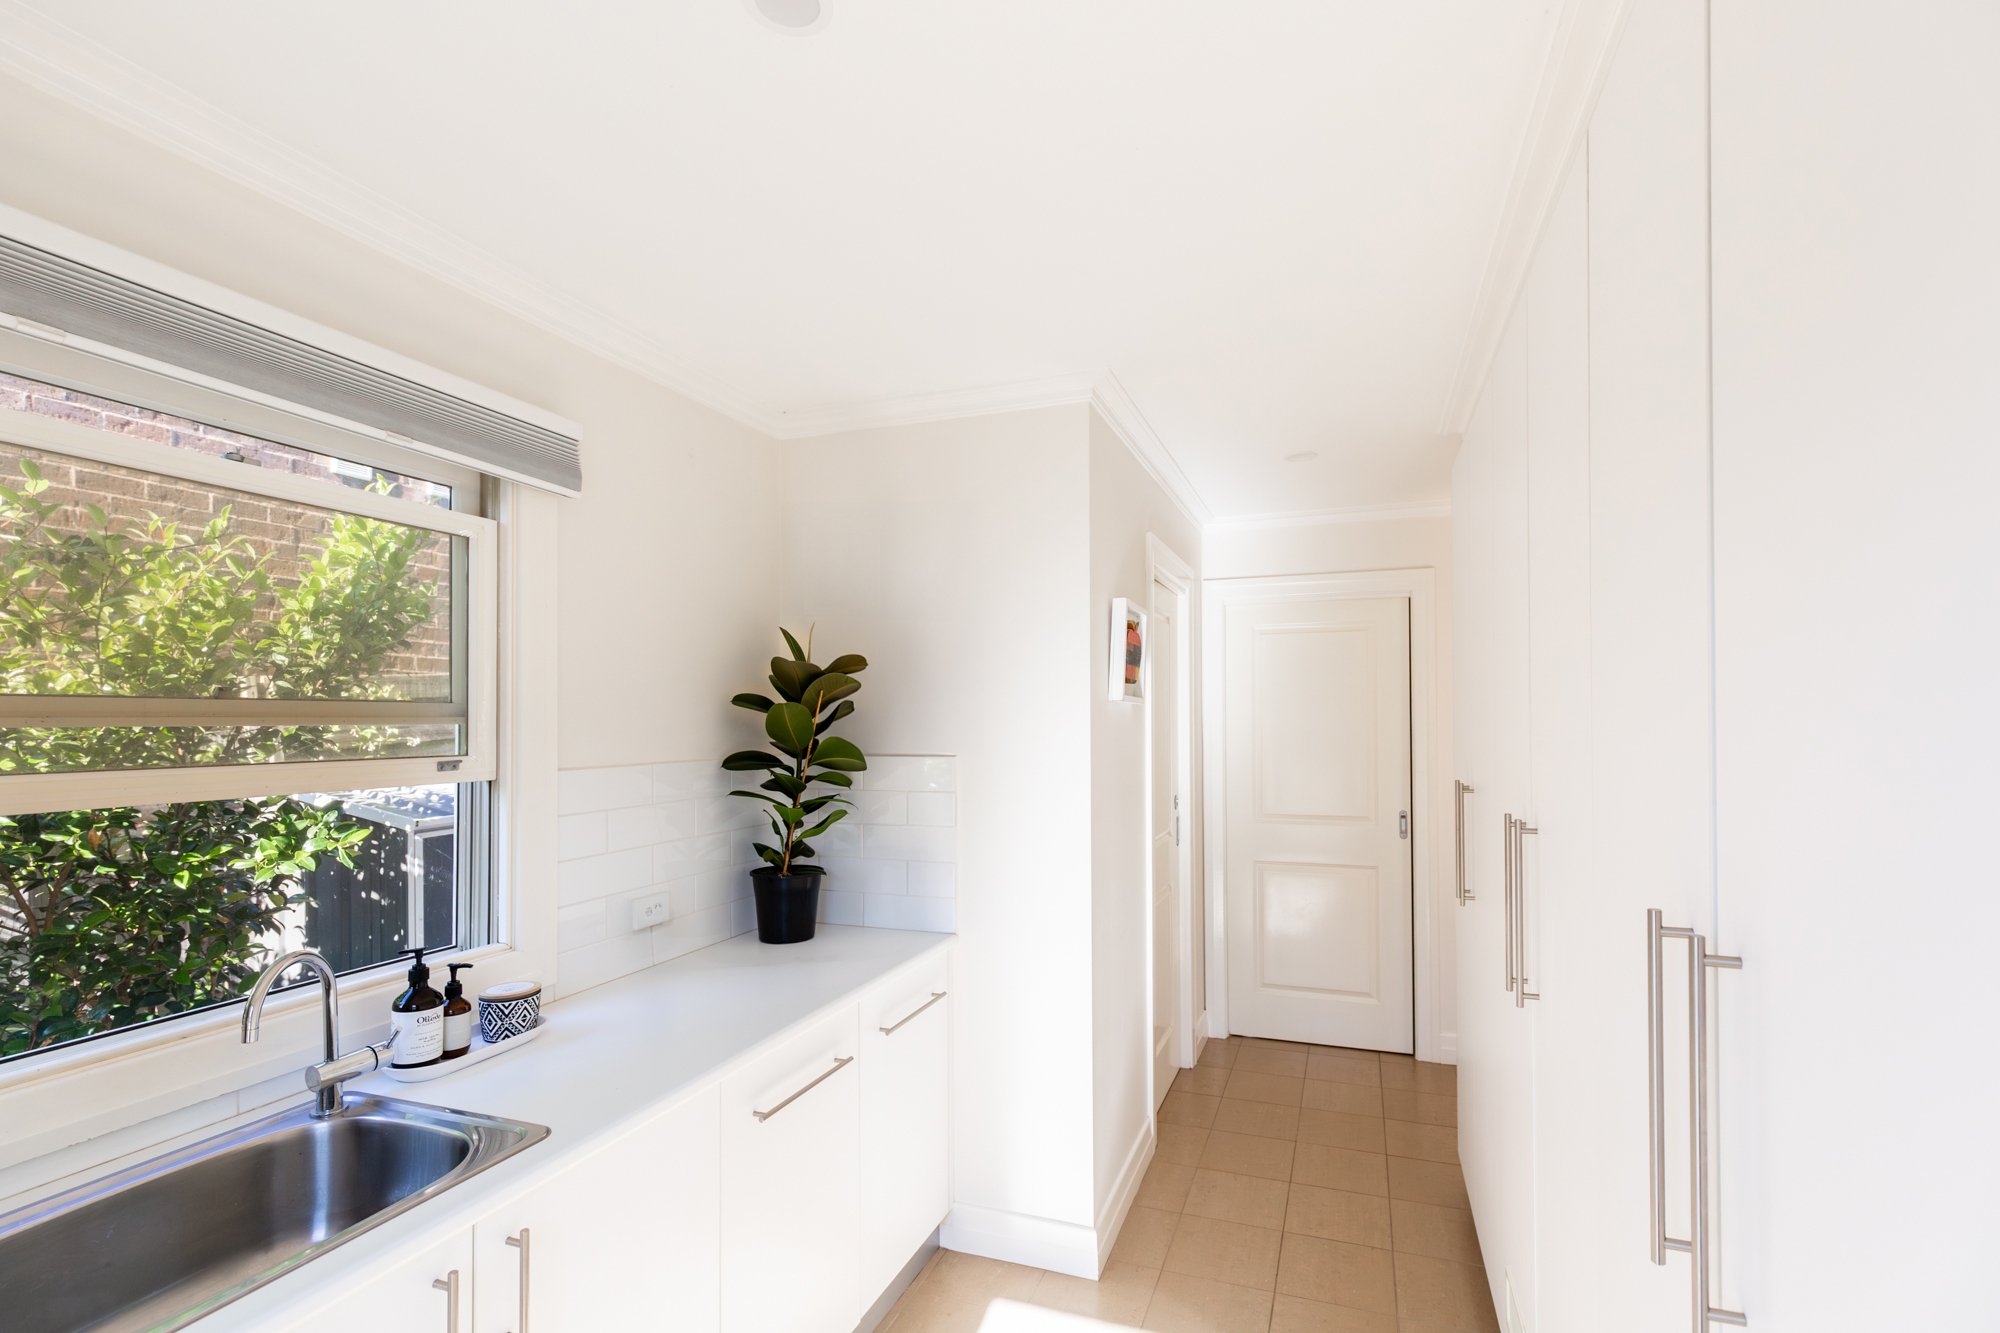
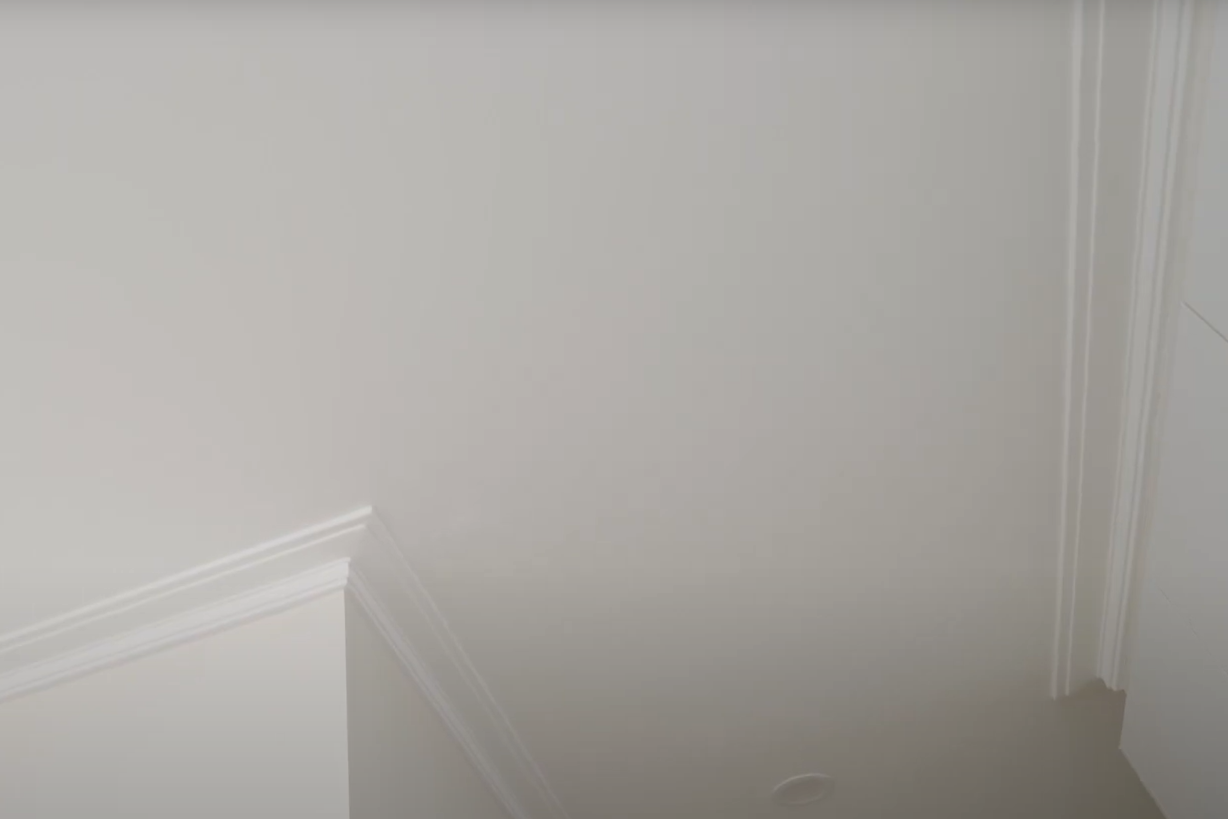
5. Picture perfect
Admire your handy work with British Paints!

We're here to help
Remember, painting should be a breeze. If you're not sure or need a hand, the British Paints team is here to help.
Find more DIY projects
Feel like tackling more fun reno projects around the house? Check out our other how-to guides.